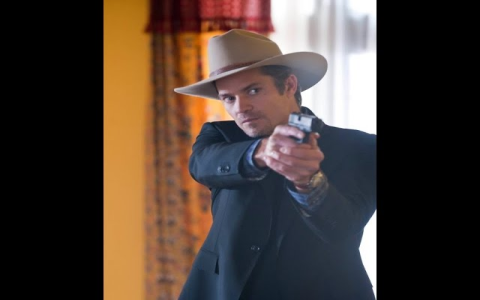
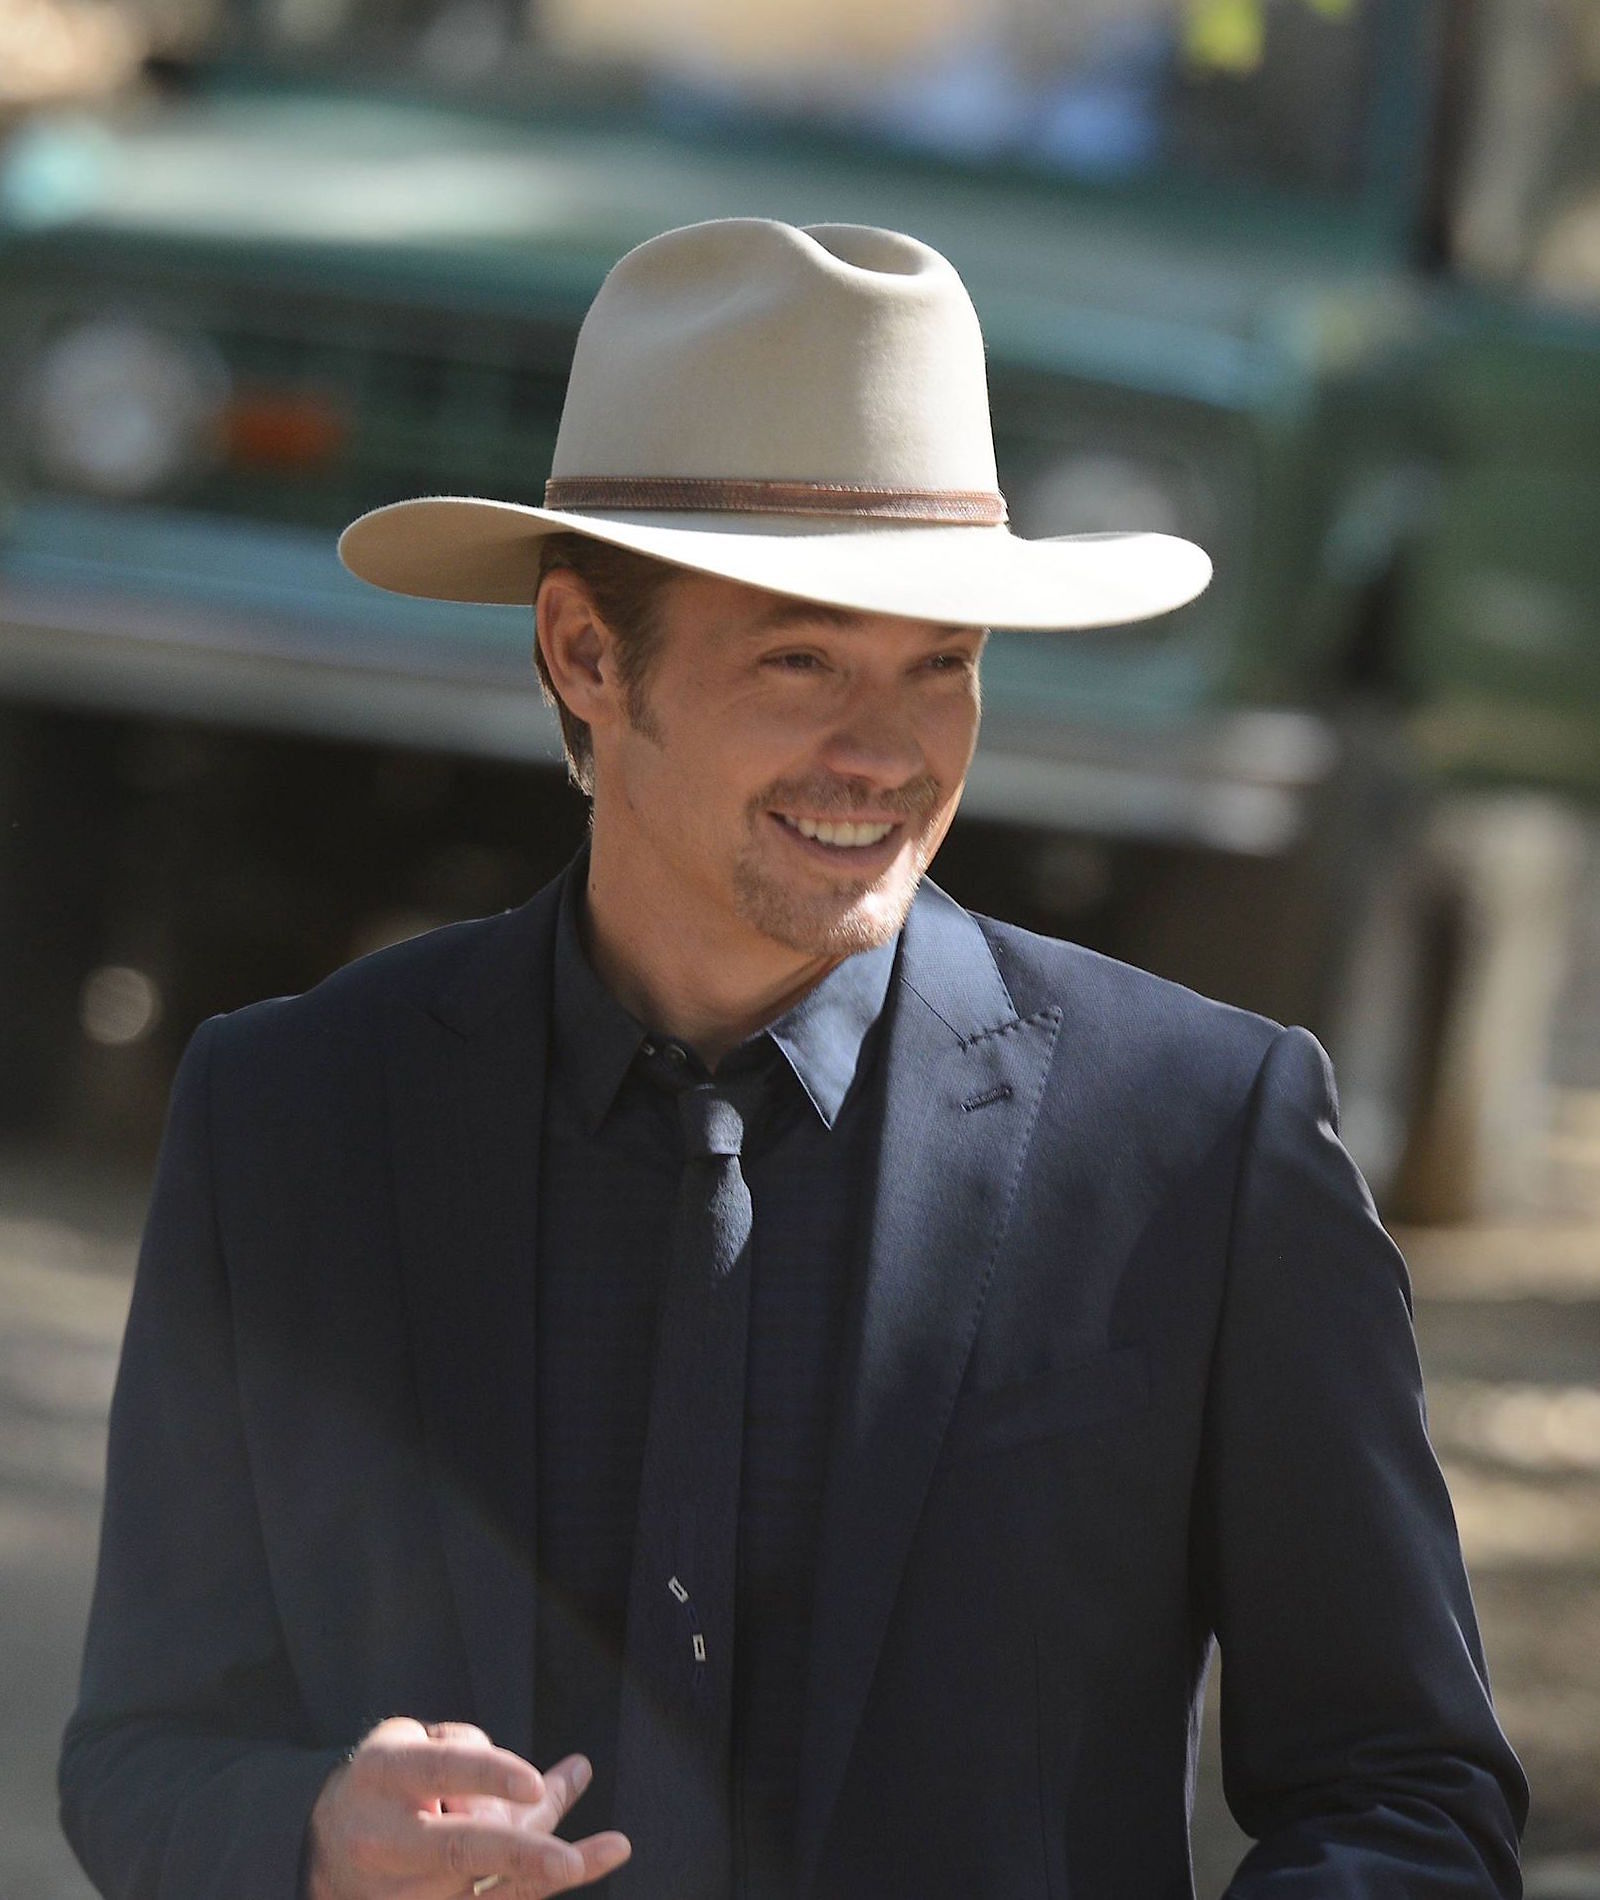
Alright, folks, gather ’round. Today, I’m diving into something a little different, something… stylish. We’re talking about recreating the iconic hat worn by Raylan Givens in “Justified.” I’m no hat maker, but I wanted that look, so I gave it a shot. Here’s how it all went down.
The Hunt for the Base
First things first, I needed a hat. Not just any hat, but one with the right potential. I wasn’t about to drop a ton of cash on a custom-made piece, so I started scouring.
- Thrift stores: Struck out. Lots of fedoras, nothing with that wide, cattleman-style brim.
- Online retailers: Bingo! Found a decent-looking felt hat with a shape that was close enough. It was a bit… plain, but that’s where the fun began.
The hat arrived, and honestly, it was a little underwhelming. The color was okay, a sort of dark tan, but the brim was too floppy, and the crown was too… round. Raylan’s hat has that distinct, sharp crease.
Shaping the Beast
This is where I got my hands dirty, quite literally. I’d watched a couple of videos online, so I felt (somewhat) prepared.
- Steam: I used a regular clothes steamer. I held the hat over the steam, carefully working the brim first. I wanted that slight upward curve on the sides and the pronounced dip in the front and back. The steam made the felt more pliable.
- Hand-shaping: While the felt was still warm and damp, I used my hands to mold the brim into the shape I wanted. This took some time, and some trial and error. I kept referring back to pictures of Raylan’s hat.
- The Crown: This was tricky. I steamed the crown thoroughly and then, using my fingers, I pushed in the sides to create that center dent, and then pinched the front to get those two distinct points.
It’s all about getting that sharp “cattleman’s crease”.
I let the hat dry overnight, propped up in a way that would help it hold its new shape. It wasn’t perfect, but it was a huge improvement.
The Hatband Hustle
The original hat I bought had a simple, self-felt band. Boring. Raylan’s hat has a distinctive, narrower band with a small buckle. I had to improvise.
- Leather Strip: I had an old leather belt I didn’t use anymore. Cut a thin strip from it. Perfect width.
- Buckle: This was the hard part. I didn’t have a tiny buckle just lying around. I ended up raiding my wife’s jewelry box (with permission, of course!). Found a small, silver-toned buckle that had come off an old bracelet.
- Attaching: I used a strong adhesive to glue the leather strip around the base of the crown. Then, I carefully threaded the buckle onto the strip and secured the end. It wasn’t as neat as a professionally sewn band, but it looked pretty darn good.
The Finished Product (Almost)
After another night of drying and a bit more tweaking, I had my Raylan Givens-inspired hat. Is it a perfect replica? Nope. But it captures the spirit of the hat, and that’s what I was going for. I’ve worn it a couple of times, and I gotta say, I feel a little bit more like a badass U.S. Marshal when I do (even if I’m just going to the grocery store).
It may get some further adjustment in the future, but for now, I am pretty happy with it.
Would I recommend this project? Sure, if you’re up for a little DIY adventure and don’t mind a bit of imperfection. It’s a fun way to channel your inner Raylan, without breaking the bank.