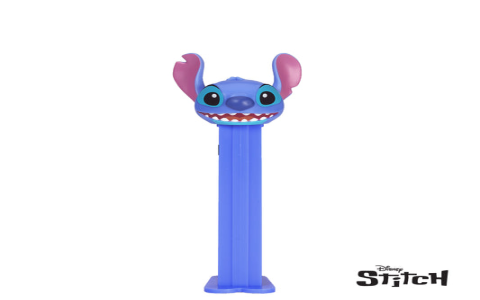
So, I got this wild idea the other day. You know those Pez dispensers? The ones with the little cartoon heads? Well, I thought, “Why not make one with a presidential twist?” I mean, who wouldn’t want a tiny, candy-dispensing version of their favorite (or least favorite) president?
First, I gathered my materials. Obviously, I needed a Pez dispenser. I found a plain white one at a local craft store – perfect for customizing. Then came the fun part: the head. I decided to go with polymer clay because it’s easy to work with and bakes hard in a regular oven. I also grabbed some acrylic paints, tiny brushes, and a sculpting tool (which was really just a fancy toothpick).
Sculpting the Head
This was definitely the trickiest part. I started by looking at a bunch of pictures of different presidents. I’m no artist, mind you, so I went with a more cartoonish style. Think big, exaggerated features. I rolled out the clay and started shaping the basic head form. Let me tell you, getting the nose right was a real pain! I spent a good hour just trying to make it look somewhat presidential and not like a weird blob.
After the basic shape was done, I added the details: the hair (which was surprisingly difficult to make look natural, even in clay), the eyes, the mouth. I used my “sculpting tool” (aka toothpick) to carve in wrinkles and other little features. It took a few tries, and let’s just say there were some… interesting… looking presidential heads before I got one I was happy with.
Baking and Painting
Once the clay head was sculpted, I carefully placed it on a baking sheet and popped it in the oven. The instructions on the clay package said to bake it at a certain temperature for a specific amount of time, so I followed those pretty closely. I didn’t want a melted, deformed president!
After it cooled, it was time to paint. This was actually pretty fun. I mixed my paints to get the right skin tone (which is harder than you might think!) and carefully painted the face. I used tiny brushes for the details like the eyes and eyebrows. I even added a little bit of a rosy tint to the cheeks to make it look more lifelike (or, you know, as lifelike as a clay Pez dispenser head can be).
Assembly
The final step was attaching the head to the dispenser. I used some strong glue and carefully positioned the head on top. I had to hold it in place for a while to make sure it dried properly. And that was it! My very own presidential Pez dispenser.
It’s not perfect, of course. The head is a little wobbly, and the paint job isn’t exactly museum-quality. But hey, it dispenses Pez, and it has a vaguely presidential-looking head on top. That’s good enough for me! And it’s a pretty good conversation starter, too.