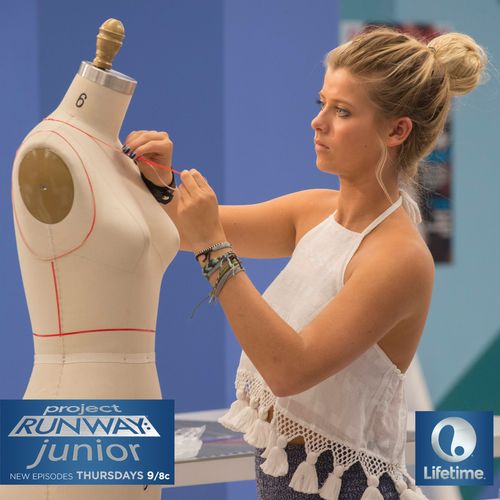
Okay, guys, so today I’m diving into something a little different – “Project Runway Junior” and specifically, a contestant named Peytie. I’m not a fashion expert, but I’ve been kinda obsessed with this show lately, and Peytie’s designs really caught my eye. So, I wanted to try and recreate, or at least get inspired by, one of her looks. Here’s how it went down.
First, I spent a good chunk of time just scrolling through images of Peytie’s designs from the show. I wanted to find something that felt achievable for my skill level, you know? I’m no sewing wizard.
Finding the Inspiration
- I looked at a ton of pictures online.
- I focused on outfits that seemed doable, not super complicated.
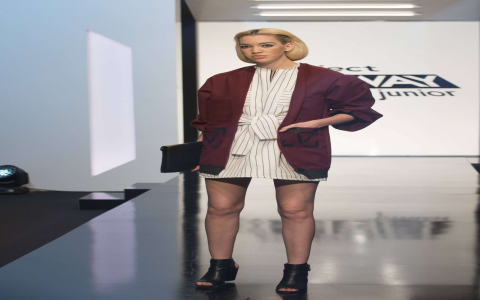
- I finally picked one that had a cool, edgy vibe but used simple shapes.
The design I settled on was this awesome two-piece thing – a top and a skirt. The top had a slightly boxy fit, and the skirt was A-line, with some interesting details. Simple enough, right?

Gathering My Supplies (aka My Trip to the Fabric Store)
This is always an adventure. I headed to my local fabric store, armed with screenshots and a vague idea of what I needed. I’m pretty sure the employees there think I’m a little nuts. I spent, like, an hour just wandering around, touching everything.
I ended up grabbing some black fabric that felt kinda like what Peytie used – something with a little bit of structure but still flowy. I also got some matching thread, and because I’m extra, I picked up some silver accents to mimic a detail on the original design.
The Sewing Process (aka Where Things Got Real)
Okay, so I’m not gonna lie, there were moments of frustration. My sewing machine and I have a love-hate relationship.
- First, the machine will not work. I spent like 30mins to slove this problem.
- I carefully cutted out simple patterns for a boxy top and an A-line skirt, aiming for that clean, modern look Peytie often achieves.
- Then, with the pieces cut, I carefully pinned them together, following the lines and curves I’d sketched out.
- The next step was the actual sewing. I slowly and steadily stitched along the seams, making sure the fabric stayed aligned.
- Finally, to add a touch of Peytie’s signature style, I carefully attached the silver accents I’d found, adding a bit of sparkle to the finished outfit.
I started by cutting out the basic shapes. Let me tell you, cutting fabric straight is HARDER than it looks. I definitely messed up a few times and had to re-cut some pieces.
Then came the actual sewing. I used a basic stitch for most of it, trying to keep my lines as neat as possible. I added the silver accents, which were these little… things… that I hand-sewed on. It took FOREVER.
The Final Result
It’s… not perfect. It’s definitely not Project Runway-worthy. But, honestly, I’m pretty proud of it! It captures the vibe of Peytie’s design, even if it’s not an exact replica. I learned a lot, and it was actually pretty fun (most of the time). Would I do it again? Maybe! It’s a good way to practice my sewing skills and get inspired by a designer I admire.